Enamel pins are a great way to share your art, support a cause, or create brand awareness for your business. Choosing the right style of pin might seem daunting at first, but by understanding the differences between soft and hard enamel lapel pins, and knowing a little bit about the production of each pin, you’ll feel confident in your decision. Our team of pin experts have decades of experience in the industry and are always willing to help you along the way.

A common question many customers have when starting out is what’s the difference between soft and hard enamel pins? Here’s a quick breakdown:
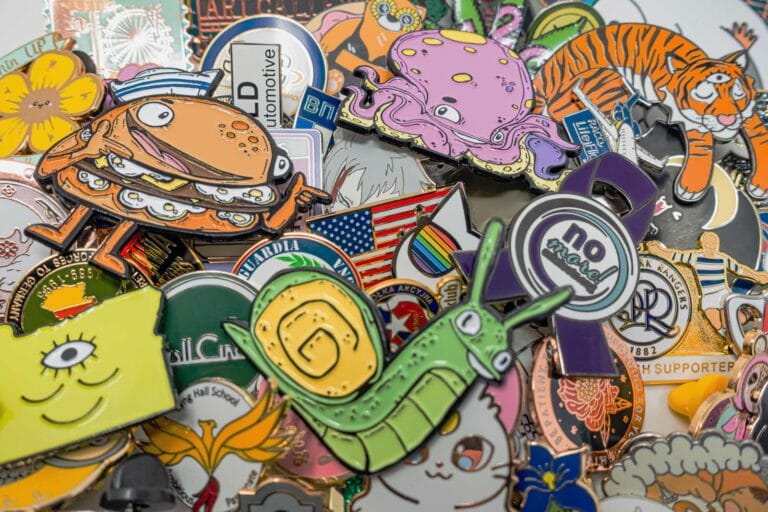
Soft Enamel pins have raised metal edges to create a textured finish. The recessed areas are then filled with colored enamel paint. You will immediately recognize this by rubbing your finger across the top. Since the metal plating is done first, it is the only option available for those needing a painted metal finish (typically black) or our rainbow plating.
This style is commonly used by artists, as it allows for more flexibility in design, quicker production time, and is the most cost-effective option. Various uses for these pins include youth sports trading and artists selling to the public.
Hard Enamel pins are polished to a smooth finish. This style is more commonly found useful when it comes to corporate designs that are less intricate. These pins are more durable and scratch-resistant. They tend to have a jewelry-like aesthetic. But with those benefits come slightly longer production times and costs. Various uses for these pins include awards, corporate branding, and the support of countries and organizations. They make a great accessory for a shirt, jacket, or collar.
When deciding which style suits your needs, it’s best to consider the following:
- What is your desired time frame for the completion of your project?
- Is durability important?
- What is your overall budget for creating these pins?
- Is your design filled with intricate details or more simplified?
- Is texture an important design element to your art or is a smooth finish more fitting?
Whatever you choose, know that both styles are great options. Both soft and hard enamel designs lead to attractive custom pins for any artist, company, organization, or team. Understanding how they differ and complement various designs is the first step in choosing the right option for you.
Process and Production
Now that you’ve chosen the style of pin that best suits you, it’s time for a glimpse into how they’re made.
Whether you’re making a soft or hard enamel pin, the beginning steps are the same. First, you must create your artwork for the pin’s design. Our pin artists will transform your work into a digital proof that will show how the pin will look and with what color enamel paints.
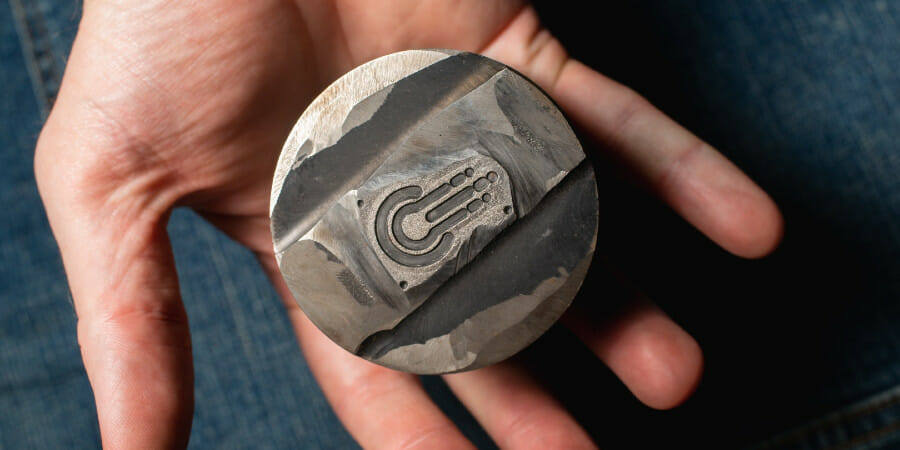
After you sign off on the digital proof, we make a mold of the design to punch into metal. This will be the base and backing of your pin. After the mold has been developed and is ready for production, the soft and hard enamel pins begin to diverge in the manufacturing process.
Soft Enamel Pin Development
The next step in making this pin is electroplating. This is where we add extra layers of brass, gold, silver, or one of our many metal plating options to the base of the pin, creating raised edges and a 3D texture. With the raised edges set, we fill in the recessed spaces and cavities with liquid enamel in the colors of your design. These spaces are only partially filled to keep the metal edges raised. Within this step are many available add-ons for your pin such as glitter, glow-in-the-dark, translucent paint, and many more.
Once everything is filled, it goes into the oven for baking to harden the enamel paint in its final place. A quick polishing and your pin is ready to show to the world.
Hard Enamel Pin Development
Since there are no raised elements to hard enamel pins, the enamel paint of your choosing gets over-filled, one color at a time.
Once the colored enamel is settled into its place, the pin gets put into the oven to set. Depending on how many colors your pin design calls for, that is the number of times it goes into the oven to bake and set. For example, two colors within the pin’s design call for two separate baking sets for the pin.
Once all the colored enamel(s) are added and given time to harden, it’s time to add the finishing touches to the pin. A strong polishing allows for all the various layers of the pin to be ground and level with one another, creating a smooth finish.
The final step is electroplating, which is adding a thin veneer of metal: brass, copper, gold, silver or one of our other plating options over the edges of the pin. This will still leave an even texture across the top while creating a glossy, smooth finished pin.
Need Help? No Problem
We understand that there is a lot to learn when it comes to developing your own custom pins. So if you’re still not sure which option is best, that’s not a problem. Our team of experts have decades of experience in the pin-making industry. Let us know what you’re looking to create and we’ll guide you along the process to make that vision a reality.